How to wallpaper the ceiling
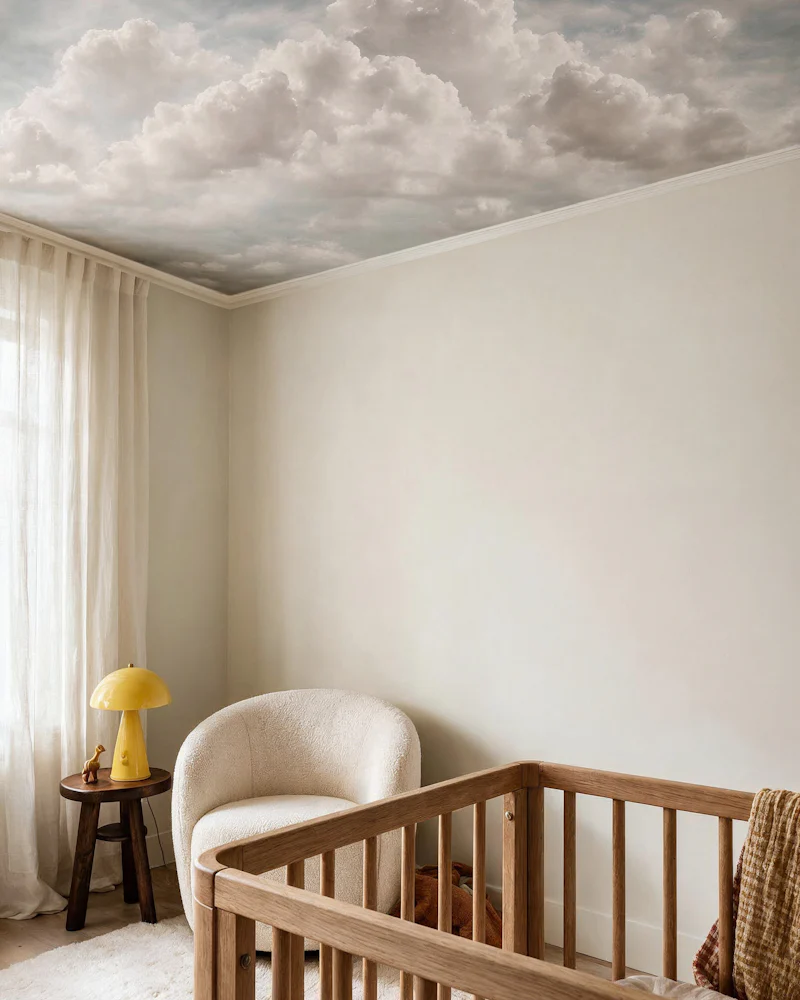
Time to look up! The ceiling is the fifth wall of the room, and wallpapering it doesn't have to be difficult. Follow this guide and we'll help you get your wall mural up where everyone can see it.
Tips for success
Step 1: Prepare the ceiling
A smooth, clean and completely dry ceiling is the key to a good result. The surface must be free from dust, dirt, grease and mildew, as any of these can stop the paste from bonding.
- Fill any holes and cracks and sand down irregularities.
- Repaint if needed, ideally in a light shade close to the background of your wallpaper, and let the paint dry for at least 24 hours. Prime porous surfaces before papering.
- Switch off the electricity and take down lamps, ceiling roses and anything else that sticks out.
Step 2: Plan your layout
Decide which direction the panels should run and where to start. Your panels are numbered in the order they should be hung, so start with panel 1 and continue in number order.
Measure one panel width (50 cm) in from the wall where you start and mark a straight line across the ceiling using a laser level or a chalk line. This line is your guide for the first panel. It is vital that the first panel is straight, because every following panel lines up against it. Keep the marking faint so it doesn't show through the wallpaper.
Step 3: Paste the ceiling
Unroll your panels and check that none are missing or damaged. Our wallpaper is non-woven, so the paste goes straight onto the ceiling, not onto the wallpaper. Use a roller for the large surfaces and a brush for edges and corners.
Apply an even layer and cover the whole area, as an unpasted spot will create a blister. Paste about one and a half panel widths at a time. Don't worry about paste on the mouldings, you can wipe it off with a damp sponge or cloth afterwards.
Step 4: Hang your first panel
Keep the panel loosely rolled and let your helper hold the roll up towards the ceiling while you work. Attach the end of the panel at your starting point with your hands, then work your way along the panel, making sure it follows your guide line.
Smooth the panel with a wallpaper brush or smoothing tool, working from the middle out towards the edges to push out any bubbles. Avoid sharp creases as these may cause cracks in the print.
Step 5: Continue with the remaining panels
Work your way across the ceiling in number order. Hang the panels edge to edge without overlapping, match the design carefully at each seam and press the seams together with a seam roller. Wipe away any paste on the front of the wallpaper with a damp rubbing.
Step 6: Trim and let it dry
Once all panels are up, trim the excess along the walls and mouldings using a trim guide and a sharp knife. Allow the wallpaper to dry for 24 hours before putting the lamps back. Then lie down on the floor and enjoy the view!